
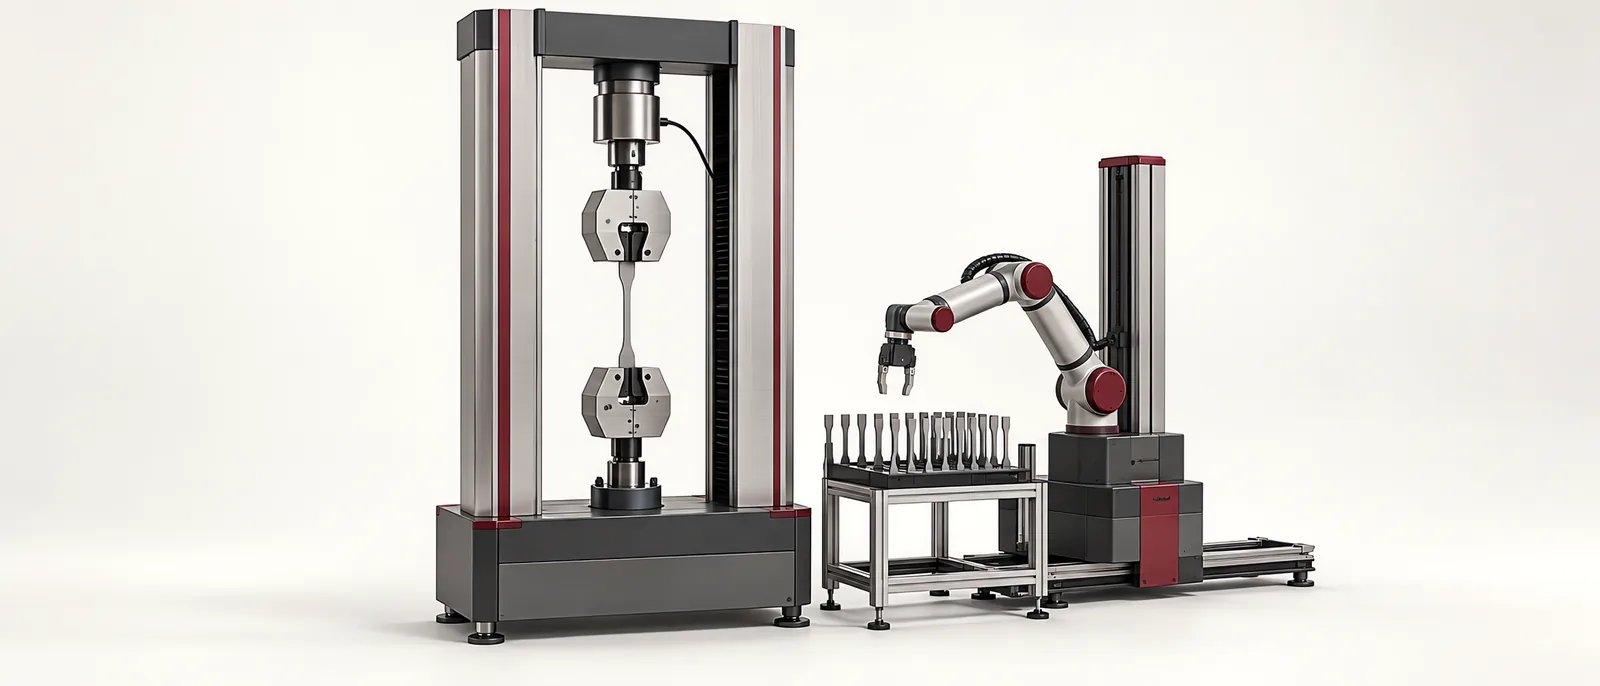
Conceptual equipment illustration.
Choose a tensile testing machine around the specimen and the required measurement, then match the frame, load cell, grips and strain sensor to that task. For an automated laboratory, add a second specification: how each specimen reaches the grips, receives the right test method and leaves with an identifiable result.
A machine with enough maximum force can still be a poor fit for small loads, long specimens or a difficult gripping surface. Define the complete test setup before comparing frame capacities. The wider laboratory automation design should preserve that setup as samples move between instruments.
Start With the Specimen Family
List the material, specimen geometry, expected force range and required result for each test family. Include the grip area and expected extension, because both affect usable travel. A short rigid coupon and a highly extensible strip can need very different arrangements even when their maximum loads are similar.
Instron’s tensile testing guide separates the load frame, load cell, gripping and strain measurement. It also explains why crosshead travel can include machine compliance and grip movement. If the result requires strain over a defined gauge length, identify the appropriate extensometer or optical measurement method explicitly.
Use a requirements sheet that keeps these decisions visible:
| Requirement | Record in the specification | Demonstrate during trials |
|---|---|---|
| Force measurement | Expected working range and required uncertainty | Reliable measurement across the actual test range |
| Specimen holding | Grip region, material and permitted contact marks | Repeatable seating without slip or unintended damage |
| Extension measurement | Gauge length, extension range and measurement method | The required result comes from the intended measurement channel |
| Space and travel | Specimen length, fixtures and extension before test end | Full test motion without a travel or clearance conflict |
| Method control | Loading sequence, speed and end conditions | Correct method selection for every specimen family |
Treat Gripping as Part of the Measurement
A loading robot needs a repeatable place to leave the specimen. Define the locating surfaces, insertion depth and confirmation that the specimen is seated before closing the grips. Check the entire transfer with the smallest, largest and most awkward specimen in the agreed range.
Once the specimen is clamped, clear the handling tool from the measurement path. A gripper still supporting the specimen can change the loading condition. For soft or thin materials, examine the clamped region after a trial: a valid force trace does not by itself establish that the specimen was held correctly.
Keep these checks with the fixture and mechanical design scope. They belong in the machine review before robot reach and cycle time are frozen.
Define the Handover Between Loader and Tester
The loader and test instrument need an agreed sequence, including what happens when a test does not complete. A practical interface definition records both the command and the evidence that allows the next action.
- Identify the sample and confirm which method and specimen dimensions apply.
- Obtain a loading-ready state from the tester before entering its working space.
- Confirm specimen placement and grip closure before withdrawing the loader.
- Start the test only when the instrument and machine conditions permit it.
- Associate the completed result or aborted-test reason with the original sample identity.
- Remove the specimen and fragments without mixing them with untested samples.
Instron’s automated plastics testing system description illustrates why racks, identification and specimen measurement belong alongside the frame in an automation project. Specify the interfaces available on the actual instrument being integrated, including an existing tester you intend to retain.
For the wider sequence across multiple instruments, see the QA laboratory automation case study. A standalone tester and a coordinated laboratory have different scheduling responsibilities.
Accept the Measurement and the Automation Separately
Compare controlled manual loading and automated loading using an agreed specimen population. Destructive tests require comparable samples; repeatedly testing a broken specimen cannot establish repeatability. Record the method, material batch and preparation conditions so differences have an interpretable context.
Then test operational recovery. Include a missing sample, unreadable identification, interrupted test and a specimen that remains in the grips. Check whether the system can recover without assigning a result to the wrong sample. The test-record and reject-handling requirements also apply to automated test equipment used directly on a production line.
Planning an automated test station? Tell us what you need to test. We can discuss specimen handling, instrument interfaces and the sequence around your measurement.