
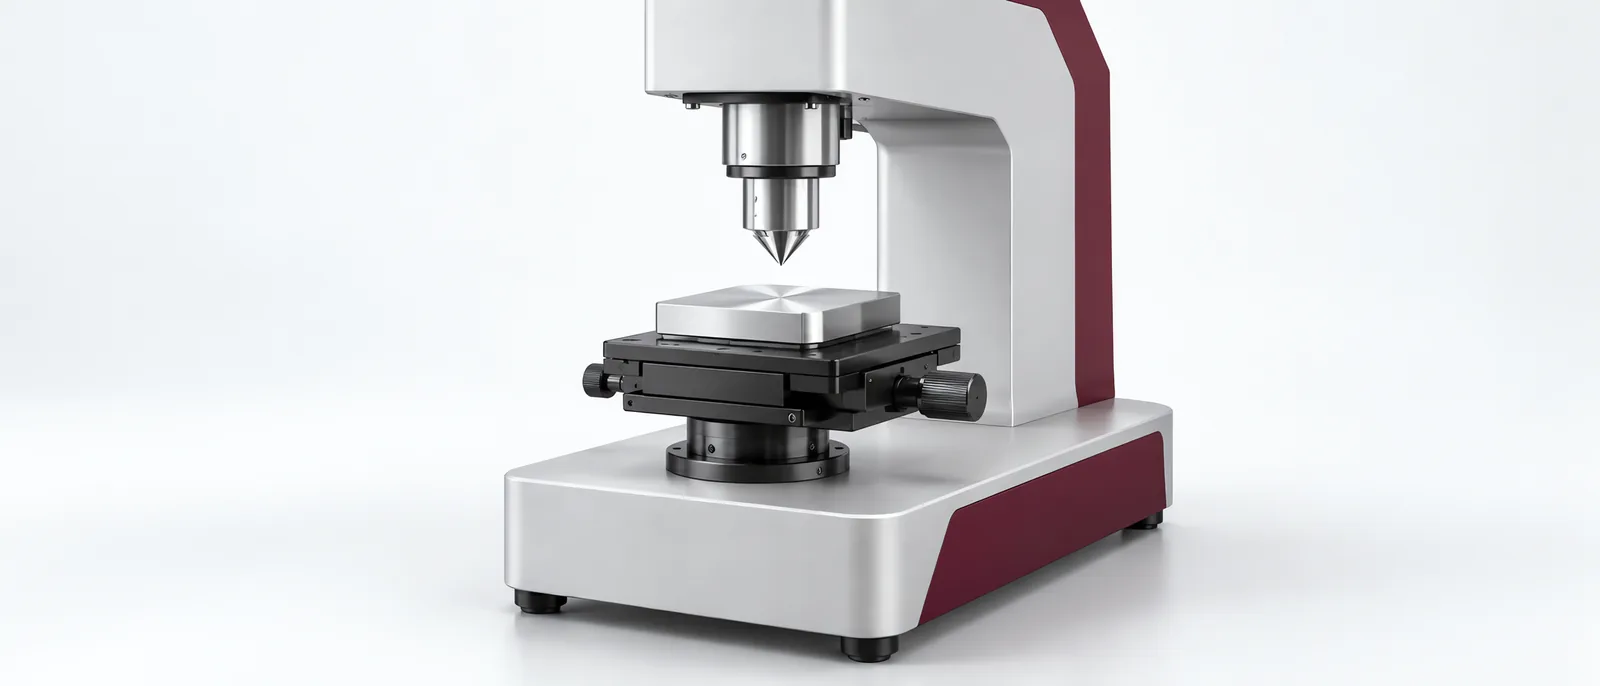
Conceptual equipment illustration.
A hardness testing machine is selected from the required method and scale, then from specimen access and production handling. “Hardness” is not one interchangeable measurement. A purchase specification that asks only for a hardness number leaves the indenter, load and evaluation method unresolved.
For laboratory automation, the instrument and loading system need a shared definition of the test location and sample identity.
Select the Method Before the Machine
ZwickRoell’s hardness-testing overview distinguishes depth-based methods from optical evaluation of an indentation. For conventional metal testing, Rockwell evaluates a depth difference; Brinell and Vickers evaluate indentation size using their respective indenters and test conditions.
| Method family | Measurement distinction | Purchase question |
|---|---|---|
| Rockwell | Depth-based result on a specified scale | Which scale, indenter and load sequence are required? |
| Brinell | Optical measurement of a ball indentation | Can the impression be evaluated on the actual surface? |
| Vickers | Optical measurement of a diamond indentation | Is the required load range and image evaluation available? |
The method comes from the product requirement. Do not convert one scale into another and treat the converted value as an independently performed test without an accepted conversion basis.
Hardness and tensile properties are different measurements. A tensile-testing machine measures force and deformation under a different loading condition; a hardness result does not replace that test.
Surface Preparation Is Part of the Workflow
Identify the face to be tested, its finish and any required preparation. Curvature, a thin section, coating or nearby edge can affect the suitability of the selected method. Apply the specimen and indentation-spacing rules prescribed for that method and scale.
Place repeat indentations at new valid locations. Testing the same impression again is not a fresh measurement. Keep the part orientation and test-location map with the recipe so that a robot does not place different batches on different faces.
If a surface has to be ground before testing, define that operation separately. Removing material can also remove the layer you intended to examine.
Verify the Instrument and Handling Together
Include reference-block checks for the relevant method and range, followed by trials on production specimens. Compare automatic and manual presentation while keeping the method, preparation and result evaluation unchanged.
Capture the scale with every value. “62” without its method and scale is not an adequate result record. Save sample identity, test position and any invalid-test status through the automated test equipment interface.
An eddy-current test can assess other material or defect characteristics with an appropriate setup; it is not a universal substitute for indentation hardness.
Contact Motionwell to discuss an instrument workflow, from sample presentation to traceable results.